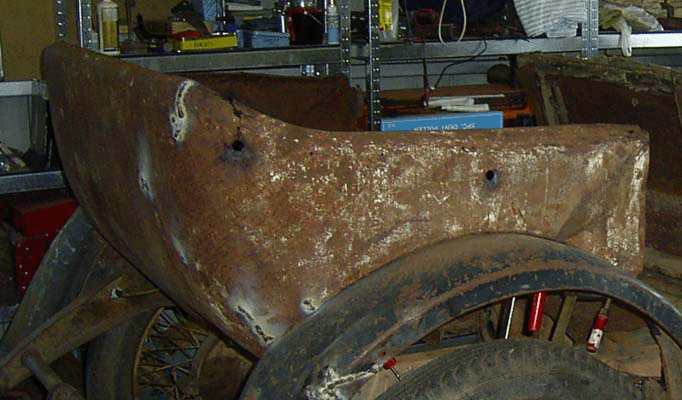
Having an original although battered rear tub section that came with the car, first thoughts were to repair it for the sake of originality. The tub on hand was minus all the woodwork and the visible rust was in the lower rear section, the “dog leg” extensions were completely missing and the corners had cracking making it extremely flimsy to handle. So first up this was clamped into place on the vehicle using the marks where it fitted the rear guards as a guide to alignment and the cracks were welded up to improve rigidity. The section was then removed and sent out for sand blasting. DISASTER!! It came back a lot worse from the experience. Most seriously was the fact that I now had a piece of lace made of sheet metal.
The trial fit. The rusty remnants after blasting.
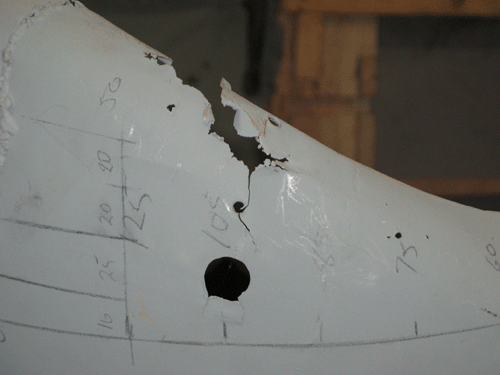
After much deliberation on what way to proceed, I decided to completely start from scratch using the sad original as a pattern. This was made easier by discovering that the original had been made in five sections as the blasting had revealed the original welds. Had I repaired the original I would have around 3 times the amount of welding to replace vast areas on both of the sides and the rear plus a lot of panel beating and reconstruction to do.
The five sections comprised of the two sides, two corners and the rear giving a total of four welds for assembly.
Starting with the back section, measurements were made to the original seams and in very short order a back section emerged. The only forming required was along the top edge where the metal rolls over the body timber frame. A bent lip and the roll at the top were made using angle iron and pipe to give the shape. This piece curves from the bottom to the top and this was put in simply by gently pulling it around some largish diameter steel tubing until it was a good fit against the old tub section.
Next up came the sides and a bit of research on forming metal into more complex shapes revealed the words “hammer form”. Many of the original panels for this sort of vehicle were apparently hand beaten over a hardwood form of the shape required and to obtain what I was after in a one of then ply, chipboard or even MDF would be adequate.
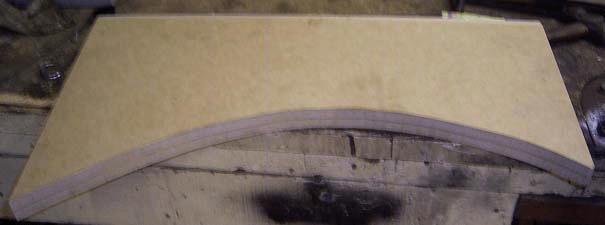
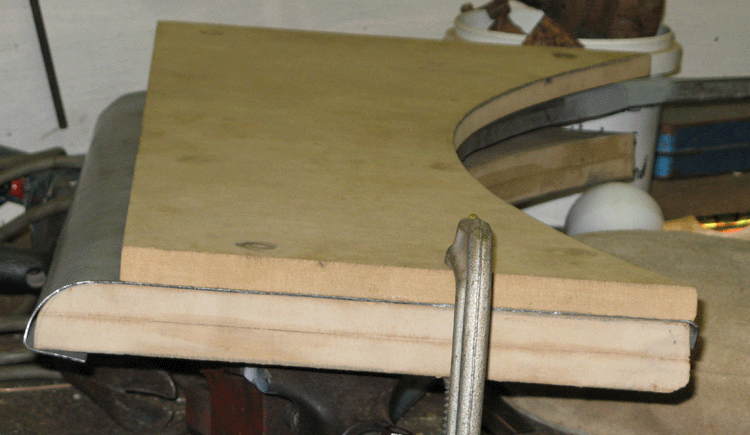
I decided to use MDF as it is cheap and easy to work. From my original side, a template of the exact inside shape was made up and this was duplicated onto a 32mm thick sheet of MDF twice as a left and right side was needed due to the curve at the top edge and onto an 18mm thick sheet once to make a clamp piece. The clamp piece I made shorter at the top to allow for hammering over the curved edge. The shape was then cut out of sheet metal adding on for the folds needed for nailing the completed panel to the timber frame. ( I like to use 1mm zinc anneal sheet which has a very light zinc coating - not galvanized - giving some rust protection). The metal sheet is then tightly sandwiched between the timber sheets and using a soft faced (plastic or rubber) hammer the edges are beaten over to conform to the required shape. A steel hammer must not be used as it will stretch and mar the metal. I possibly deviated slightly from original by making a separate hammer form for the dog leg and welding these on later.
The side hammer form making the side
]

This article describes the construction of a replacement rear tourer section for a T.J Richards bodied R series Hupmobile from 1924.
Originally written for inclusion in The Australian and New Zealand Hupmobile Register, it is included here to show just what can be achieved in your back shed with very simple tools and a little determination
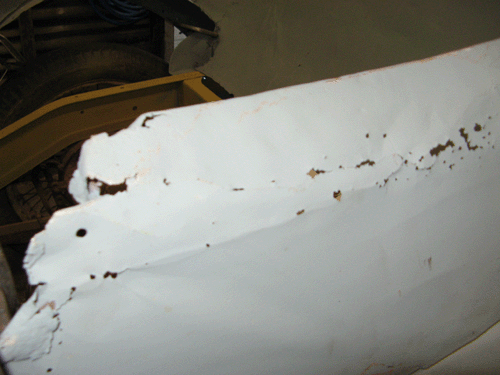
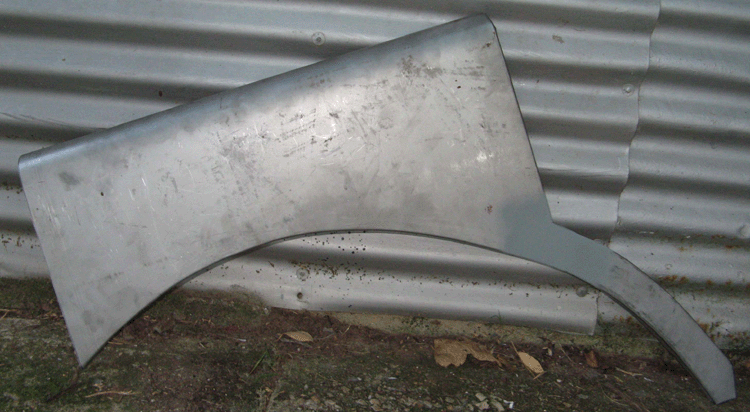
The completed side with attached leg
The next pieces needed are the corner sections for joining the back to the sides. They have a compound curve to them and are described on the next page.